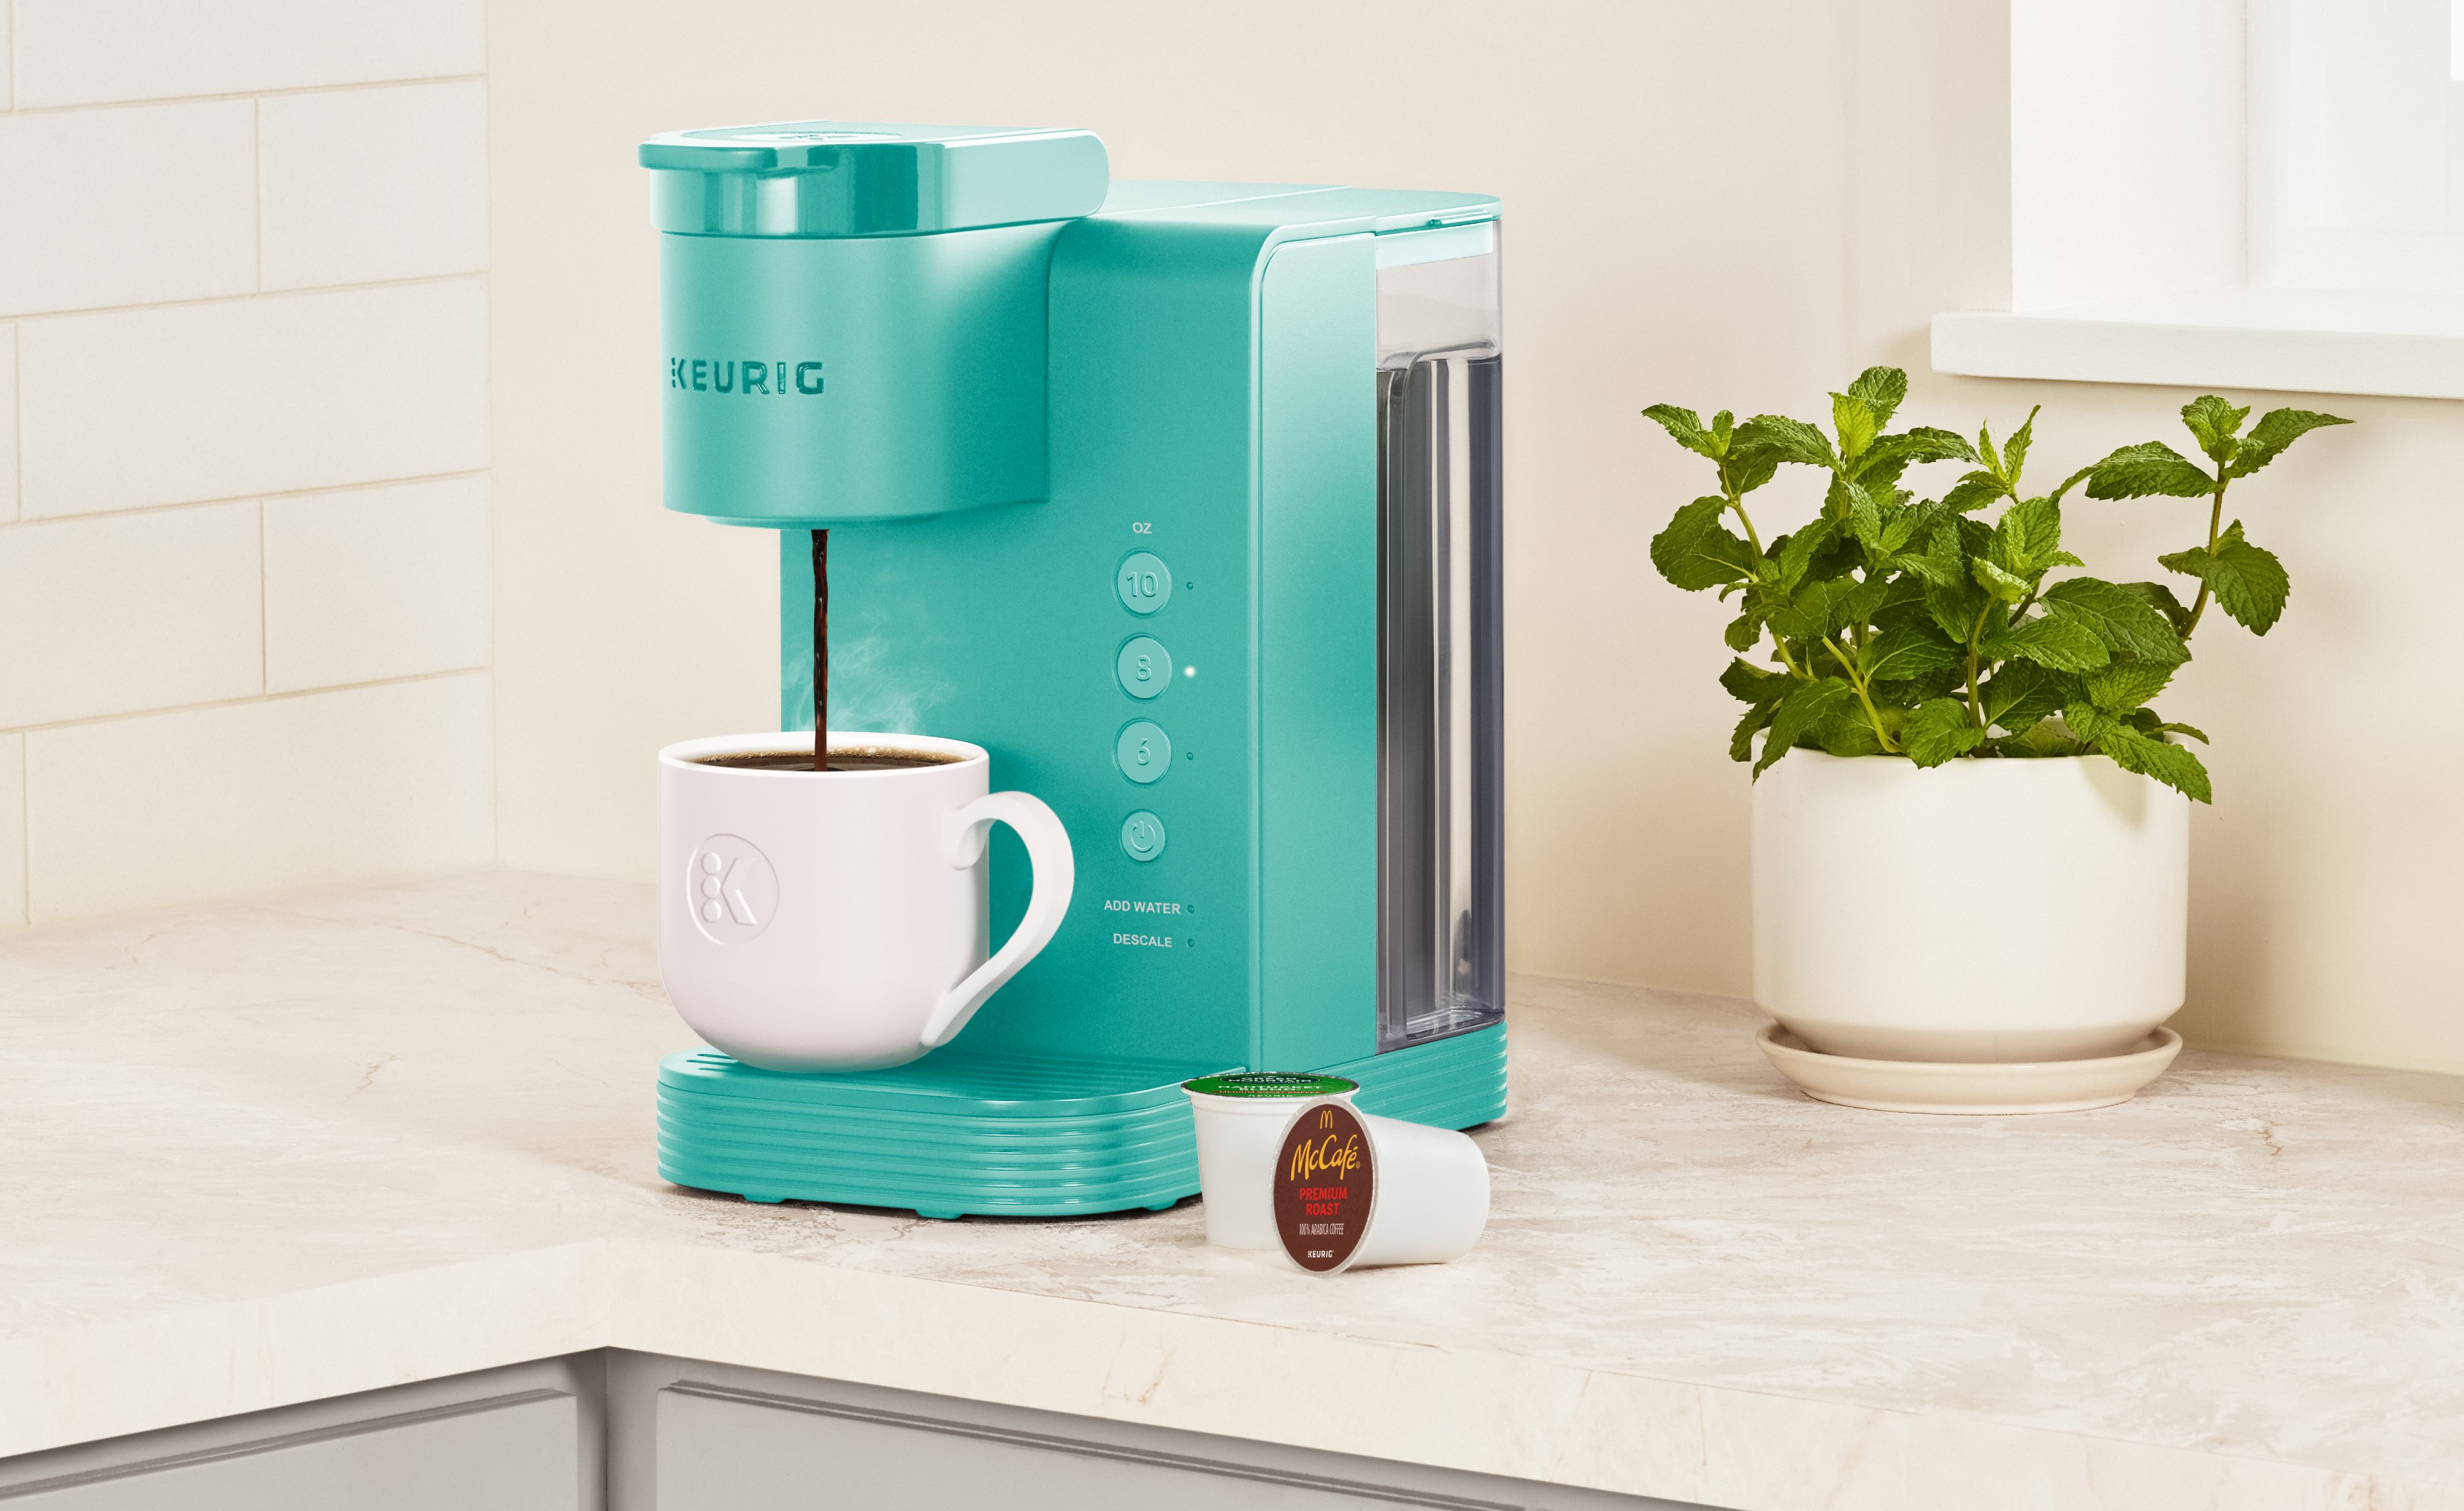
For the performance and longevity of your Keurig coffee machine, the machine needs to be descaled regularly. After a few days of use, various minerals accumulate inside the machine, which come from the water. These minerals spoil the taste of coffee and may cause machine problems.
By regular descaling, this problem should not be encountered. The process is simple—just follow a few steps.
By following these simple steps or guidelines, you can get the most out of your Keurig machine and always enjoy the best-tasting coffee.
Gathering Supplies
To effectively descale your Keurig coffee machine, start with gathering supplies. Having the right materials ensures the process is smooth and efficient. Below, you will find what you’ll need and where to find supplies.
What You’ll Need
White vinegar or a descaling solution
A large ceramic mug
Water
A clean, dry cloth
An empty sink or basin
Where To Find Supplies
You can easily find these supplies at local stores or online. Below is a table listing common sources:
Item | Source |
|---|---|
White Vinegar | Grocery Store, Online Marketplaces |
Descaling Solution | Online Marketplaces, Specialty Coffee Shops |
Ceramic Mug | Home Goods Store, Online Marketplaces |
Water | Home Faucet, Bottled Water from Grocery Store |
Clean Cloth | Home Goods Store, Grocery Store |
Ensure you have all these items ready before starting the descaling process.

Credit: www.realhomes.com
Preparing Your Keurig
Before you descale your Keurig coffee machine, preparation is essential. This ensures a smooth and effective descaling process. In this guide, we’ll cover the first steps to get your Keurig ready.
Emptying The Water Reservoir
First, you need to empty the water reservoir. This step is crucial.
Follow these simple steps:
Unplug your Keurig from the wall socket.
Remove the water reservoir carefully.
Pour out any remaining water into the sink.
Rinse the reservoir with fresh water to remove any debris.
Dry the reservoir with a clean towel.
An empty and clean water reservoir prepares your machine for the descaling process.
Removing The Filter
Next, it’s time to remove the filter. This ensures the descaling solution works effectively.
Follow these steps:
Locate the water filter holder in the reservoir.
Gently pull the filter holder out.
Remove the used filter from the holder.
Discard the old filter as it’s no longer needed.
Set the filter holder aside for now.
By removing the filter, you allow the descaling solution to flow freely through your Keurig.
Descaling Solutions
Descaling your Keurig coffee machine is vital for its maintenance. It ensures your coffee tastes fresh. You have two main options: commercial descaling solutions and homemade descaling solutions. Both methods are effective, but they have their own pros and cons. Let’s dive into each option.
Commercial Descaling Solutions
Commercial descaling solutions are specifically designed for coffee makers. They are easy to use and highly effective. These solutions are often recommended by manufacturers.
Simple to use
Highly effective at removing buildup
Recommended by many coffee machine brands
Using a commercial solution is straightforward. Follow these steps:
Ensure your Keurig is empty.
Fill the water reservoir with the commercial solution.
Run a brewing cycle without a K-Cup.
Repeat until the reservoir is empty.
Rinse with fresh water to remove any residue.
Homemade Descaling Solutions
Homemade descaling solutions are a budget-friendly option. They usually involve ingredients you already have at home.
Vinegar Solution:
Ingredients | Amount |
|---|---|
White Vinegar | 1 cup |
Water | 1 cup |
To descale with vinegar, follow these steps:
Mix equal parts of white vinegar and water.
Pour the mixture into the water reservoir.
Run a brewing cycle without a K-Cup.
Repeat until the reservoir is empty.
Rinse with fresh water to remove the vinegar taste.
Lemon Solution:
Ingredients | Amount |
|---|---|
Lemon Juice | 1 cup |
Water | 1 cup |
To descale with lemon, follow these steps:
Mix equal parts of lemon juice and water.
Pour the mixture into the water reservoir.
Run a brewing cycle without a K-Cup.
Repeat until the reservoir is empty.
Rinse with fresh water to remove the lemon taste.
Both homemade solutions are effective. They are also eco-friendly and affordable. Choose the one that suits you best.

Credit: www.goodhousekeeping.com
Descaling Process
The descaling process is crucial for maintaining your Keurig coffee machine. It removes mineral build-up and ensures your coffee tastes fresh. Follow these steps to keep your Keurig in top shape.
Running The Descaling Cycle
First, turn off your Keurig and unplug it. Remove the water reservoir and empty any remaining water. Prepare a descaling solution by mixing equal parts of water and white vinegar.
Fill the water reservoir with this solution.
Place a large mug on the drip tray.
Plug in the machine and turn it on.
Select the largest cup size and start brewing.
Repeat the brewing process until the reservoir is empty. This helps remove the mineral deposits inside the machine.
Rinsing The Machine
After descaling, it’s essential to rinse the machine thoroughly. Rinse the water reservoir with fresh water. Fill it with clean water and place it back on the machine.
Place a large mug on the drip tray.
Select the largest cup size and start brewing.
Repeat this process at least 3-4 times.
This ensures no vinegar taste remains in your coffee machine. Your Keurig is now clean and ready to brew delicious coffee again!
Cleaning Components
Keeping your Keurig clean ensures great-tasting coffee. It also extends the machine’s life. Focus on cleaning the main components. This includes the water reservoir and the K-Cup holder. Below is a step-by-step guide.
Cleaning The Water Reservoir
Start by unplugging your Keurig. Remove the water reservoir carefully. Use warm, soapy water for cleaning. Avoid harsh chemicals.
Rinse the reservoir thoroughly. Make sure no soap remains. Dry it with a clean towel. You can also let it air dry.
Check the filter inside the reservoir. Replace it if it’s dirty. A clean filter improves water quality and coffee taste.
Cleaning The K-cup Holder
Remove the K-Cup holder from the machine. Be gentle to avoid breaking it. Rinse it under warm water. Use a small brush to clean any stuck coffee grounds.
Soak the K-Cup holder in soapy water. Let it sit for a few minutes. Rinse thoroughly to remove all soap.
Dry the K-Cup holder with a towel. Ensure it’s completely dry before placing it back. This prevents mold and bacteria growth.
Reassembly And Testing
After descaling your Keurig coffee machine, reassembly and testing are crucial steps. This ensures your machine works perfectly. Follow these simple steps for a seamless experience.
Reinstalling The Filter
Start by reinstalling the filter. Make sure the filter is clean. Place the filter back into the water reservoir. Ensure it fits snugly. Check for any leaks around the filter area. If you see leaks, adjust the filter.
Step | Action |
|---|---|
1 | Clean the filter. |
2 | Place the filter in the reservoir. |
3 | Check for leaks. |
Running A Test Brew
Next, run a test brew to ensure everything is working. Fill the reservoir with fresh water. Place a cup under the dispenser. Select a brew size and start brewing. Observe the process to ensure smooth operation.
Fill the reservoir with water.
Place a cup under the dispenser.
Select a brew size.
Start the brew cycle.
During the test brew, listen for any unusual sounds. Check the brewed coffee for any debris. If everything looks good, your machine is ready to use. Enjoy your freshly brewed coffee!
Maintenance Tips
Maintaining your Keurig coffee machine ensures optimal performance and longevity. Regular care prevents scale build-up and keeps your coffee tasting fresh. Below are essential maintenance tips to keep your Keurig in top shape.
Regular Cleaning Schedule
Follow a regular cleaning schedule to keep your Keurig running smoothly. Clean the exterior of the machine weekly with a damp cloth.
Empty and clean the drip tray daily.
Wash the water reservoir weekly with mild soap.
Clean the pod holder and funnel weekly.
Use a soft brush to clean the needle that punctures the coffee pods. This prevents clogs and ensures proper water flow.
Preventing Scale Build-up
Scale build-up can affect the taste of your coffee and the performance of your Keurig. Use filtered water to reduce mineral deposits.
Descale your Keurig every three months.
Use a descaling solution or white vinegar.
Follow the manufacturer’s descaling instructions.
Regular descaling prevents scale build-up and keeps your Keurig functioning efficiently. Consider installing a water filter in the reservoir to further reduce scale build-up.
Frequently Asked Questions
How Often Should I Descale My Keurig?
Descale your Keurig every three to six months. This prevents mineral buildup. Regular descaling ensures optimal performance and extends the machine’s lifespan.
What Do I Need To Descale A Keurig?
You need a descaling solution or white vinegar, fresh water, and a large mug. Follow the manufacturer’s instructions for best results.
Can I Use Vinegar To Descale My Keurig?
Yes, you can use white vinegar to descale your Keurig. It effectively removes mineral buildup. Always rinse thoroughly afterward to remove any vinegar taste.
How Long Does It Take To Descale A Keurig?
Descaling a Keurig takes about 45 minutes. This includes running the descaling solution and rinsing the machine. Plan accordingly to avoid interruptions.
Conclusion
Descaling your Keurig ensures a fresh and efficient coffee experience. Regular maintenance prevents buildup and prolongs machine life. Follow these simple steps for a clean, tasty brew every time. Enjoy your perfectly brewed coffee without any hassle. Happy brewing!
